
Installing a Dog Waste Station
Posted by Bob Wilson on May 6th 2019
Dog waste station installation is a very simple process. To properly install a station, you’ll need a pair of pliers, a shovel, a level, water and a bag of quick setting cement.
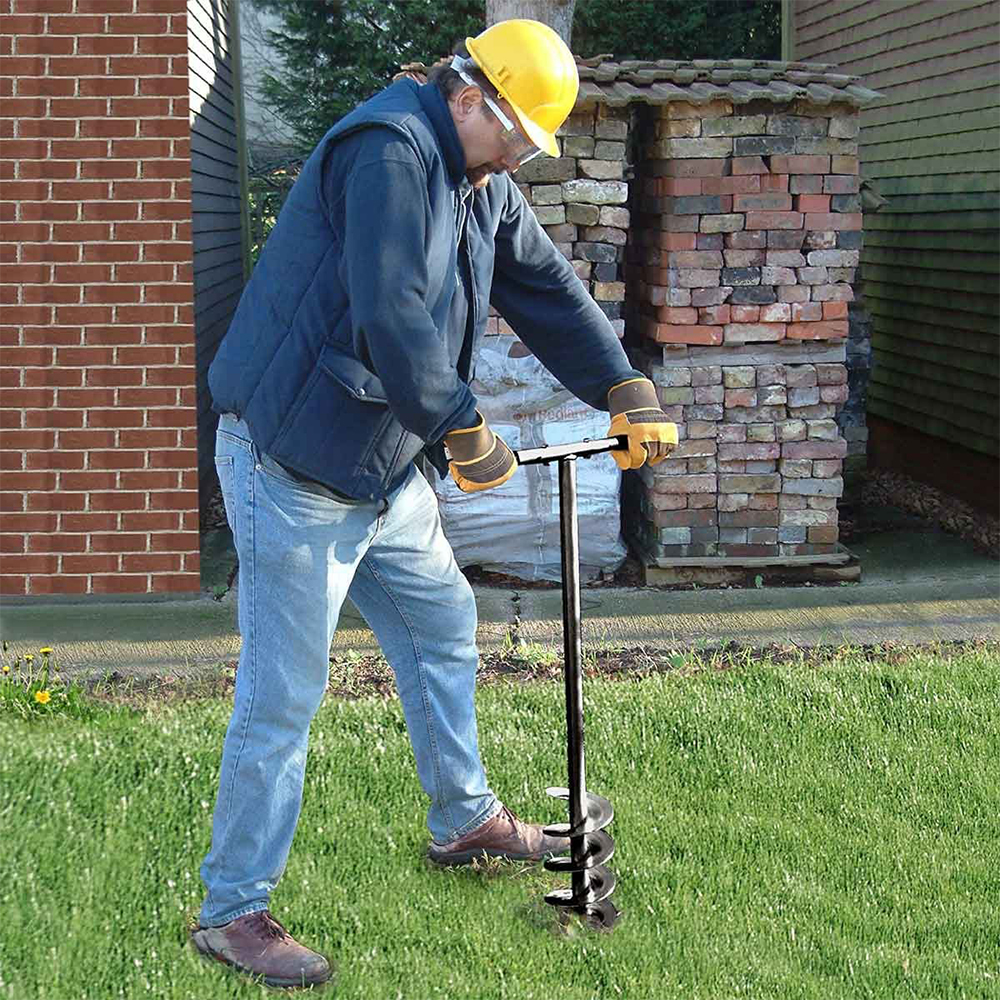
The first task during dog waste station installation is to dig a hole 18"deep. Choose an area that is easily accessible and conspicuous. This will allow dog owners access to the dog waste bags dispensed by the dog waste station. Be sure to check for underground utilities prior to digging.
When the hole has been dug, place the post into the hole. Work the dog waste station post into the hole so that it will stand on its own. Now place the level at the top of the post to ensure that it is properly aligned and even. Once you have the post properly set, pour the whole bag of quick setting cement into and around the base of the post, then pour the water over the cement. This will activate the hardening of the cement and provide a good, solid foundation for your dog waste station. Wait about 30-45 minutes for the cement to set and then begin installing the various pieces of your station.
The dog waste bag dispenser, sign and dog waste can need to be secured by a set of nuts, bolts and washers. Use a pair of pliers or socket wrench to secure the dispenser, sign and waste can to complete your dog waste station. Now that each piece has been secured to the post, stock the unit with dog waste bags and fill the waste can with an user friendly/commercial grade can liner.
When installing multiple dog waste stations, you should first set all the posts then come back to secure the dispenser, sign and dog waste can. This will allow the quick setting concrete for each post to properly harden, while also utilizing your time efficiently instead of waiting for each individual dog waste station post to set one at a time.
